Medical disclaimer: This article is for informational purposes only, does not constitute medical advice, and has not been reviewed by a licensed medical professional. Results vary by individual. Always consult a qualified healthcare provider before making any healthcare decisions.
Quick answer: Chairside smile preview software is a consultation-room tool that produces a photorealistic before-and-after image of a patient's smile using their own photo — while they're still in the chair. The strongest tools generate a result in under 10 seconds, require no design training to operate, and cover the full cosmetic menu (whitening, veneers, bonding, bridges, full smile makeovers) in one platform. Practices that show the preview before the patient leaves the room consistently see higher cosmetic case acceptance than practices relying on verbal descriptions alone.
What is chairside smile preview software?
Chairside smile preview software is a consultation tool that generates a realistic visual simulation of a cosmetic dental outcome — veneers, whitening, bonding, a bridge, or a full smile makeover — starting from the patient's own photograph, produced live during the appointment rather than prepared in advance by a lab or design team.
The word "chairside" is doing real work here. It means in the room, in the moment, while the patient is still sitting in front of you. If a tool takes hours or days to turn around a result, it isn't chairside software — it's a pre-consultation design service, and it belongs to a different stage of the patient journey entirely.
This page draws on cosmetic dentistry consultation practice, case acceptance patterns observed across dental clinics, and chairside preview workflows built for practices using Makeover.
Why chairside preview software changes case acceptance
A cosmetic consultation is rarely lost at the price conversation. It's lost earlier — at the moment the patient tries to picture themselves with a different smile and can't quite get there.
Verbal descriptions do a lot of the work in a dentist's head and very little in a patient's. "You'll look years younger" or "your teeth will be noticeably straighter" is meaningful to a clinician who has watched hundreds of these transformations happen. To a patient who has never had cosmetic treatment before, it's an abstraction they're being asked to trust on faith — right before agreeing to spend money on something irreversible.
That gap, between what the dentist can already picture and what the patient can't, is where most cosmetic cases quietly die. Not in a dramatic "no," but in a "let me think about it" that never turns into a booking.
A chairside preview closes that gap in the room. When a patient sees a photorealistic image of their own face — their own teeth, their own lips, their own skin tone — with the proposed treatment applied, the conversation changes shape. They stop trying to imagine and start reacting to something in front of them. The question shifts from "what would this even look like" to "how soon can we start," and price objections get easier to handle because the patient is now weighing cost against a result they've already seen, not one they're being asked to trust blindly.
What chairside smile preview software should do
Not every "AI smile tool" on the market can actually function chairside. A few criteria separate the tools that work in a live appointment from the ones that only work as a marketing demo:
Speed. A result has to appear during the consultation — ideally in well under a minute. Anything that requires prep time before the appointment defeats the entire point of "chairside."
The patient's own photo. Personalization is the whole mechanism. A generic stock before-and-after doesn't produce an emotional reaction; a photo of the patient's own face does. If the tool can't work from a photo taken on the spot, it isn't a chairside tool.
No design training required. A hygienist, treatment coordinator, or front-desk team member should be able to run it with a few minutes of instruction — not a dentist who's completed a design certification.
Photorealistic output, not an illustration. Patients calibrate how much to trust a preview based on how real it looks. A cartoonish or over-smoothed render undercuts confidence instead of building it.
Coverage across treatment types. A practice offering veneers, whitening, bonding, and full smile makeovers shouldn't need four separate tools to preview four different outcomes. One platform, every transformation type on the menu.
Easy to share after the appointment. Most patients want to talk the decision over with a partner or family member before committing. If the image can't leave the room with them — by text, email, or print — the emotional momentum from the consultation evaporates by the time they're home.
Chairside software vs digital smile design (DSD): what is the difference?
These two terms get used almost interchangeably, but they describe different tools solving different problems at different points in the patient journey.
| Factor | Chairside smile preview software | Digital Smile Design (DSD) |
|---|---|---|
| When it is used | During the consultation, in real time | Before the consultation, as a preparation step |
| Who operates it | Any team member | Trained DSD clinician or technician |
| Time to produce a preview | Under 30 seconds | Hours to days |
| Cost per case | Minimal (subscription) | Significant (specialist time) |
| Purpose | Gain patient consent and excitement | Precision clinical planning |
| Photorealism | High | Very high |
| Clinical planning tool | No | Yes |
| Consultation conversion tool | Yes | Less so — it arrives too late |
DSD is a rigorous clinical planning methodology, and it earns its place for complex full-mouth rehabilitations where the treatment plan itself needs to be engineered before anyone touches a handpiece.
Chairside software solves a different problem: it's a consultation conversion tool, meant to sit at the very beginning of the patient journey rather than after hours of clinical preparation. For the majority of cosmetic cases — veneers, whitening, bonding, smile makeovers — chairside software is faster, cheaper to run per case, and simply better positioned to move a patient from inquiry to booking, because it does its job before the patient has had time to walk out and lose momentum.
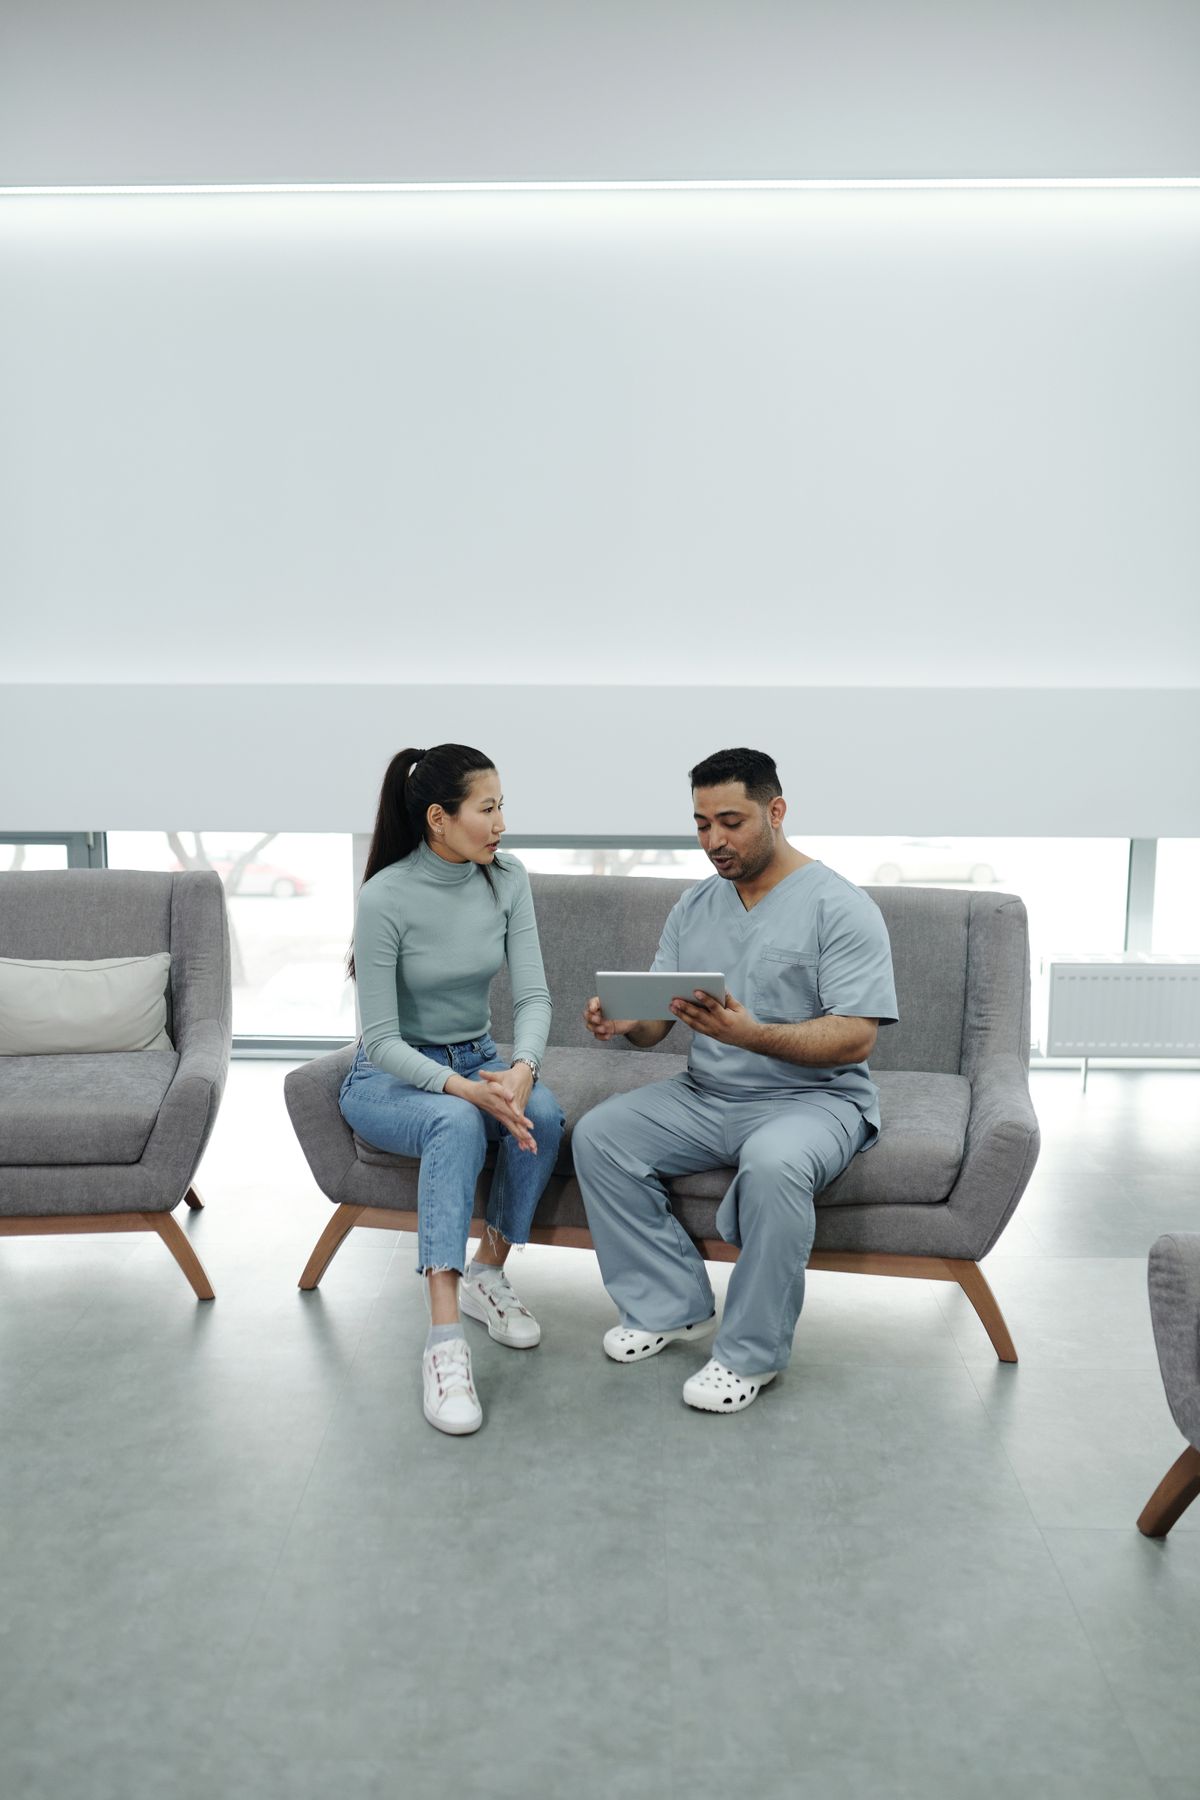
Photo by Cedric Fauntleroy via Pexels
How to use smile preview software in a live consultation
The workflow itself is simple. What matters is the order — do these steps out of sequence and the tool loses most of its impact.
Step 1: Take the photo first. Before any clinical assessment, before price comes up, before a treatment plan gets presented. A natural smile photo under consistent lighting takes about thirty seconds and sets the baseline everything else compares against.
Step 2: Generate the preview while you're asking about their concerns. While the image is processing, ask the patient what they'd most like to change. By the time they've finished answering, the result is usually already on screen — no dead air, no waiting.
Step 3: Show the result, then stop talking. The reaction to seeing your own face transformed is immediate and it's emotional. Let the patient sit with it for a moment before you start explaining the clinical detail.
Step 4: Use the preview as the anchor for the rest of the conversation. When you walk through the treatment plan, point back to it. When you get to price, keep it visible. The image, not your description, becomes the reference point the patient is reacting to.
Step 5: Send the image home with the patient. Email or text it before they leave the chair. The decision usually doesn't get made in the room — it gets made later that evening, often with a partner or family member in the conversation, and the preview needs to be part of that conversation, not just a memory of what they saw.
How Makeover works as chairside preview software
Makeover is built as a chairside smile preview tool for dental and aesthetic practices, not a pre-consultation design service. Here's how it sits inside a live appointment:
- Upload — any team member uploads the patient's smile photo from a phone or tablet
- Select — choose the treatment type: whitening, veneers, smile makeover, bonding, or bridge simulation
- Generate — the AI produces a photorealistic before-and-after in under 10 seconds
- Show — display the result on screen while the patient is still in the chair
- Share — send the image to the patient's phone or inbox before they leave
No design training, no specialist software, no prep work before the appointment — because a build is only useful chairside if it can keep pace with a consultation that's already in progress.
Every Makeover deployment is scoped to how the individual practice actually runs consultations — the treatment menu, the team structure, the devices already in the room — rather than shipped as a one-size-fits-all tool. Practices interested in adding chairside preview to their consultation room can get in touch for a walkthrough and a quote scoped to their workflow.
The chairside consultation protocol
This is the five-step sequence practices can run in the first fifteen minutes of a cosmetic consultation to put the preview to work at the moment it has the most leverage.
| Step | Timing | What to do | Why |
|---|---|---|---|
| 1. Photo first | First 2 minutes | Take a natural smile photo before any clinical discussion | Sets the baseline while the patient is relaxed, before they know what the photo is for |
| 2. Listen | Minutes 2–5 | Ask one open question: "What would you most like to change about your smile?" | Surfaces the patient's own priority instead of assuming what bothers them |
| 3. Preview | Minute 5 | Generate and show the chairside preview while the concern is still fresh | The emotional impact is highest when the result directly answers what the patient just said |
| 4. Plan and quote | Minutes 6–15 | Walk through treatment options with the preview still on screen | The patient is now weighing cost against a result they've already seen, not an abstraction |
| 5. Share before leaving | End of appointment | Send the preview image to the patient's phone or email | Keeps the preview in the decision-making conversation that happens at home, not just a memory of what was said in the room |
Skip Step 1 and the preview loses its emotional weight — a treatment-plan photo taken after the sales pitch reads as staged. Skip Step 5 and the momentum built in the room doesn't survive the drive home. Both steps matter as much as the preview itself.